Applies to:
Domains
Difficulty:
Easy
Time Needed:
5 minutes
Introduction
This is a quick step-by-step walkthrough for creating an SPF record for your domain, via the 34SP.com Control Panel.
Sender Policy Framework (SPF) record is a type of Domain Name Service (DNS) record that identifies which mail servers are permitted to send email on behalf of your domain. The purpose of an SPF record is to prevent spammers from sending messages with forged ‘From’ addresses at your domain.
For best results we recommend that as well as adding SPF records, you enable DKIM on your domain too. To find out how to do this, please read our KB article ‘How to activate DKIM signing’.
Please Note: DNS changes typically take 24-48 hours to fully propagate.
How to create an SPF record
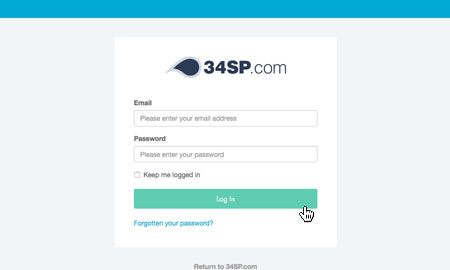
STEP 1
Login to your account
Firstly, you’ll need to login to your 34SP.com account at https://account.34sp.com.
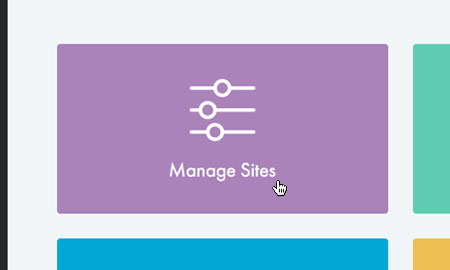
STEP 2
Choose ‘Manage Sites’
Once you have logged in, click on the ‘Manage Sites’ icon. This will bring up a list of websites or domain names you have in your 34SP.com account. Simply choose the website or domain name to wish to edit by clicking on it.
STEP 3
Choose ‘DNS’
After you have clicked on the website or domain name you wish to edit, you will be presented with a page of icons. Please click on the tab labelled ‘DNS’.

STEP 4
Choose ‘SPF Record’
You’ll then be taken to the DNS overview page. Navigate to the DNS navigation and click on the tab labelled ‘SPF Records’.

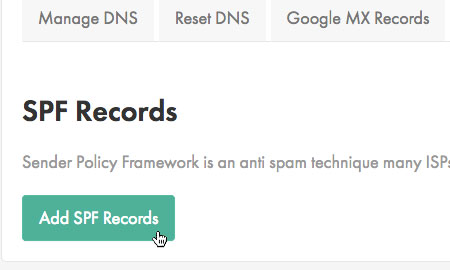
STEP 4
Add SPF records
To setup your SPF records, simply click the button labelled ‘Add SPF Records’. The SPF records will then be automatically added to your DNS. Like all changes to your DNS, please allow 24-48 hours for them to fully propagate.