Applies to:
Reseller Hosting
Difficulty:
Easy
Time Needed:
5 minutes
Introduction
This is a quick step-by-step guide to editing, adding and removing email addresses on a Reseller Hosting account, via the 34SP.com control panel.
Contents
Managing your email accounts
STEP 1
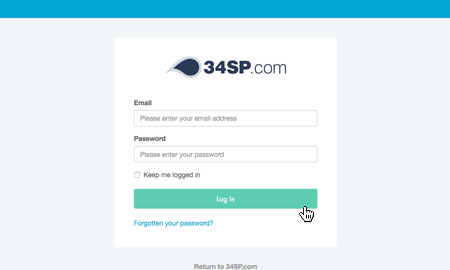
Login to your account
Firstly, you’ll need to login to your 34SP.com account at https://account.34sp.com.
STEP 2
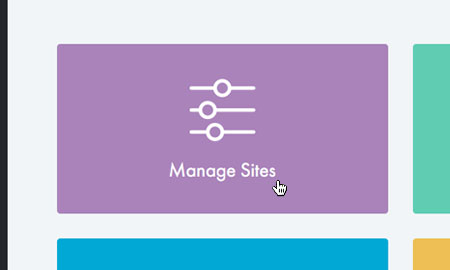
Choose ‘Manage Websites’
Once you have logged in, click on the ‘Manage Sites’ icon.
STEP 3
Choose ‘Settings’
Locate your reseller account on the page and click ‘Settings‘.

STEP 4
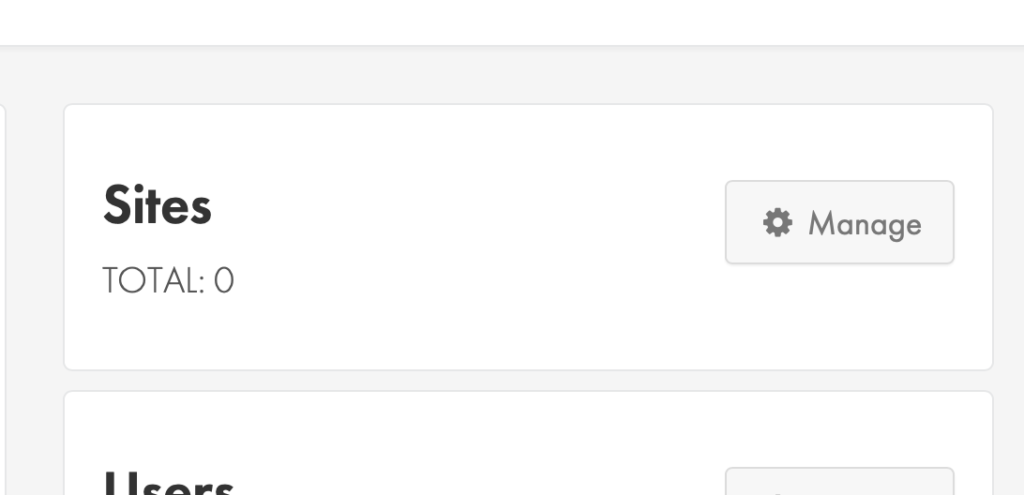
Choose ‘Manage’
From your reseller overview page, select the ‘Manage‘ button under the ‘Sites‘ menu.
STEP 5
Choose ‘Settings’
From the list of your websites click the ‘Settings‘ button next to the domain you wish to manage.

How to add a mailbox
STEP 1
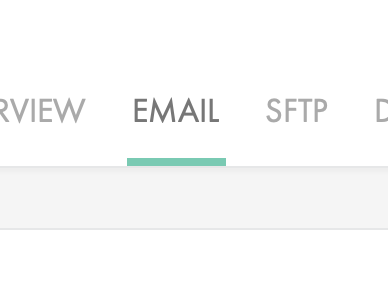
Choose ‘Email’
From the top menu select ‘Email‘ to get started.
STEP 2
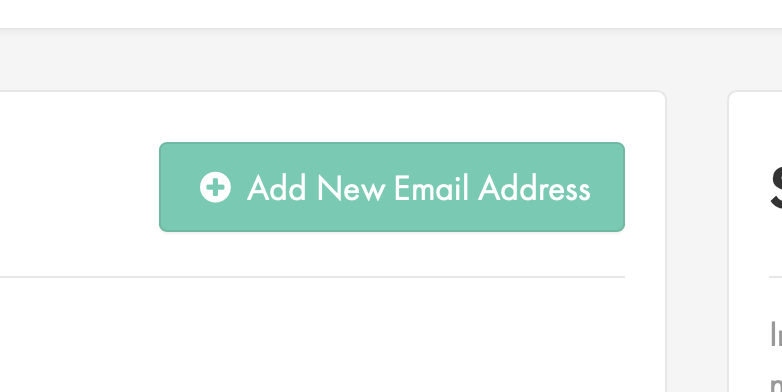
Choose ‘Add New Email Address’
Click ‘Add New Email Address‘.
STEP 3
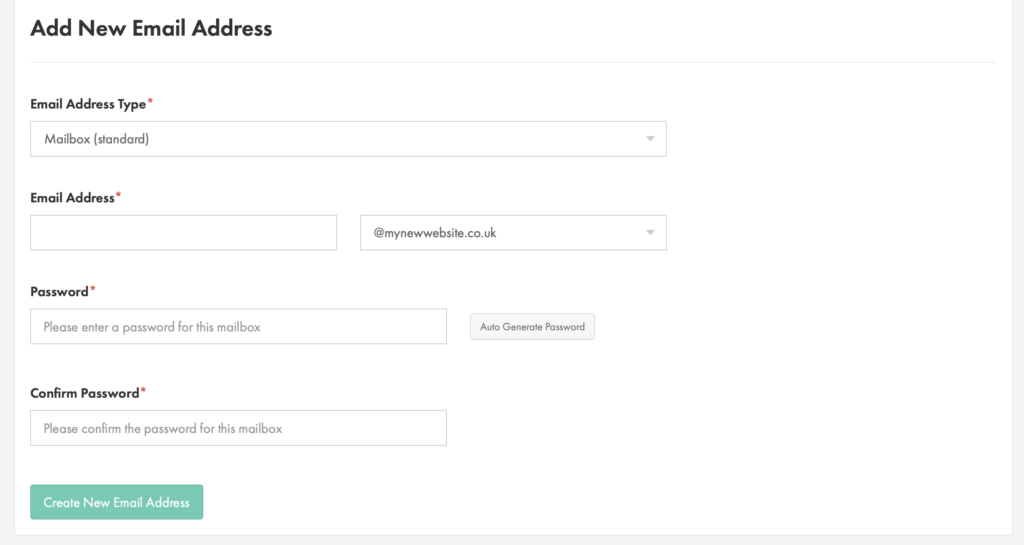
Fill in your mailbox details
Use the form to create your email address and password. When you are finished click ‘Create New Email Address‘.
How to change your mailbox password
STEP 1
Choose ‘Email’
From the top menu select ‘Email‘.

STEP 2
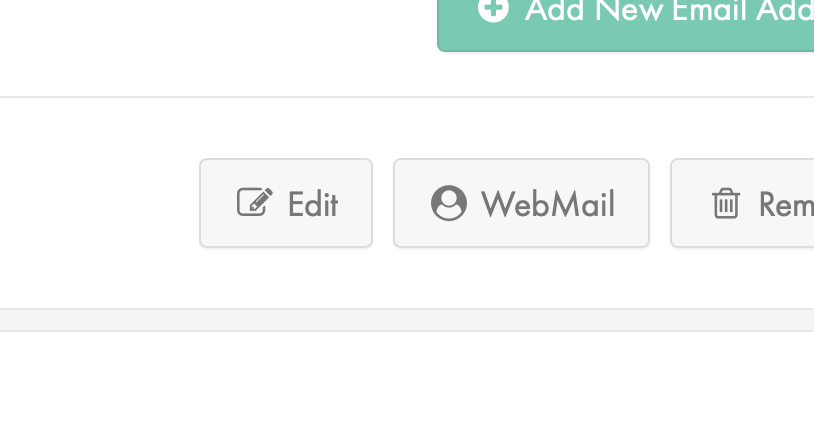
Choose ‘Edit’
Click the ‘Edit‘ button next to the mailbox you wish to make changes to.
STEP 3
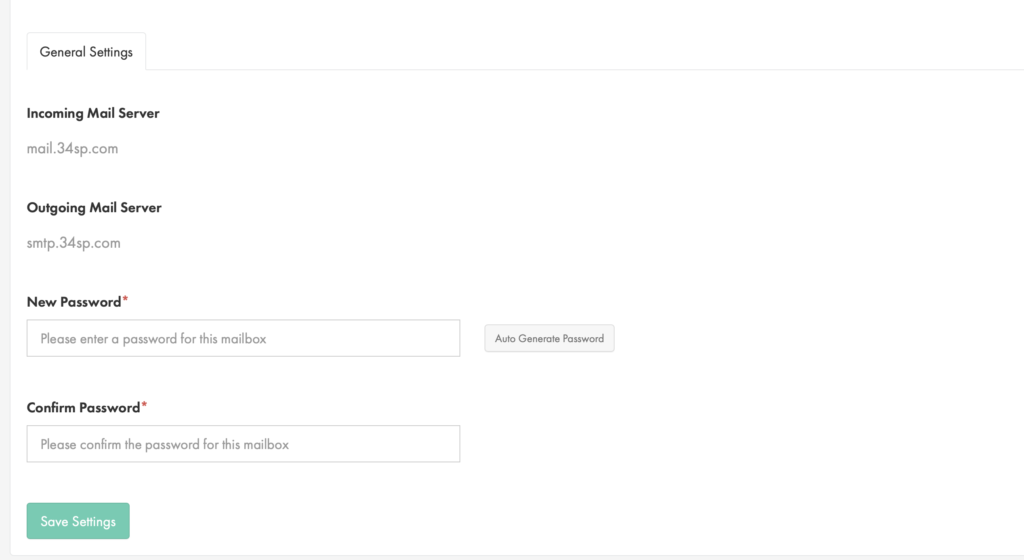
Set your new password
Using the form fields, set a new password for your mailbox. When you are done click the ‘Save Settings‘ button.
How to delete a mailbox
STEP 1
Choose ‘Email’
From the top menu select ‘Email‘.

STEP 2
Choose ‘Remove’
Click the ‘Remove‘ button next to the mailbox you wish to delete.
