Introduction
This is a step-by-step walkthrough for enabling WordPress multisite on your 34SP.com WordPress Hosting account.
Multisite allows you to manage multiple installations of WordPress that share a common pool of themes and plugins all within one control panel. Multisite is best utilised by small, similar websites such as multiple location business websites or multi-language websites.
Enabling Multisite
STEP 1
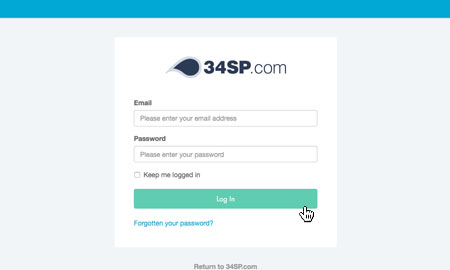
Login to your account
Firstly, you’ll need to login to your 34SP.com account at https://account.34sp.com.
STEP 2
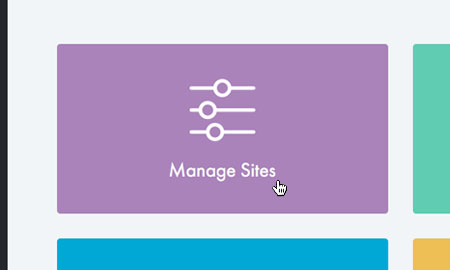
Choose ‘Manage Sites’
Once you have logged in, click on the ‘Manage Sites’ icon. This will bring up a list of websites or domain names you have in your 34SP.com account. Simply choose the website or domain name to wish to edit by clicking on it.
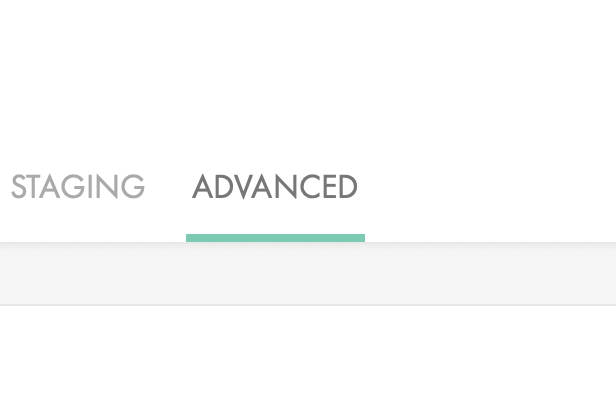
STEP 3
Select ‘Advanced’
From the navigation menu, select the ‘Advanced’ option.
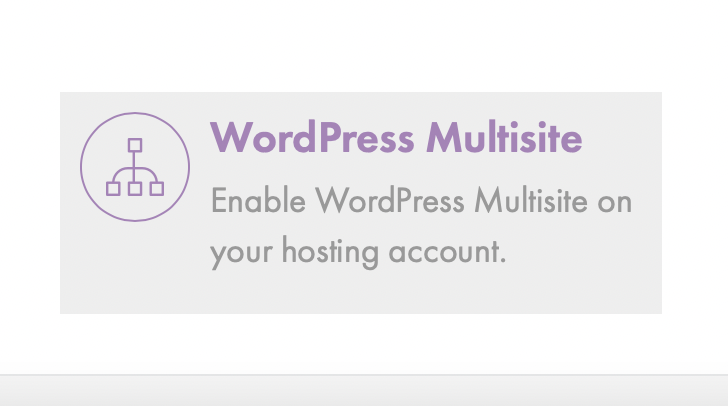
STEP 4
Select ‘WordPress Multisite’
From the list of available options, select ‘WordPress Multisite’.
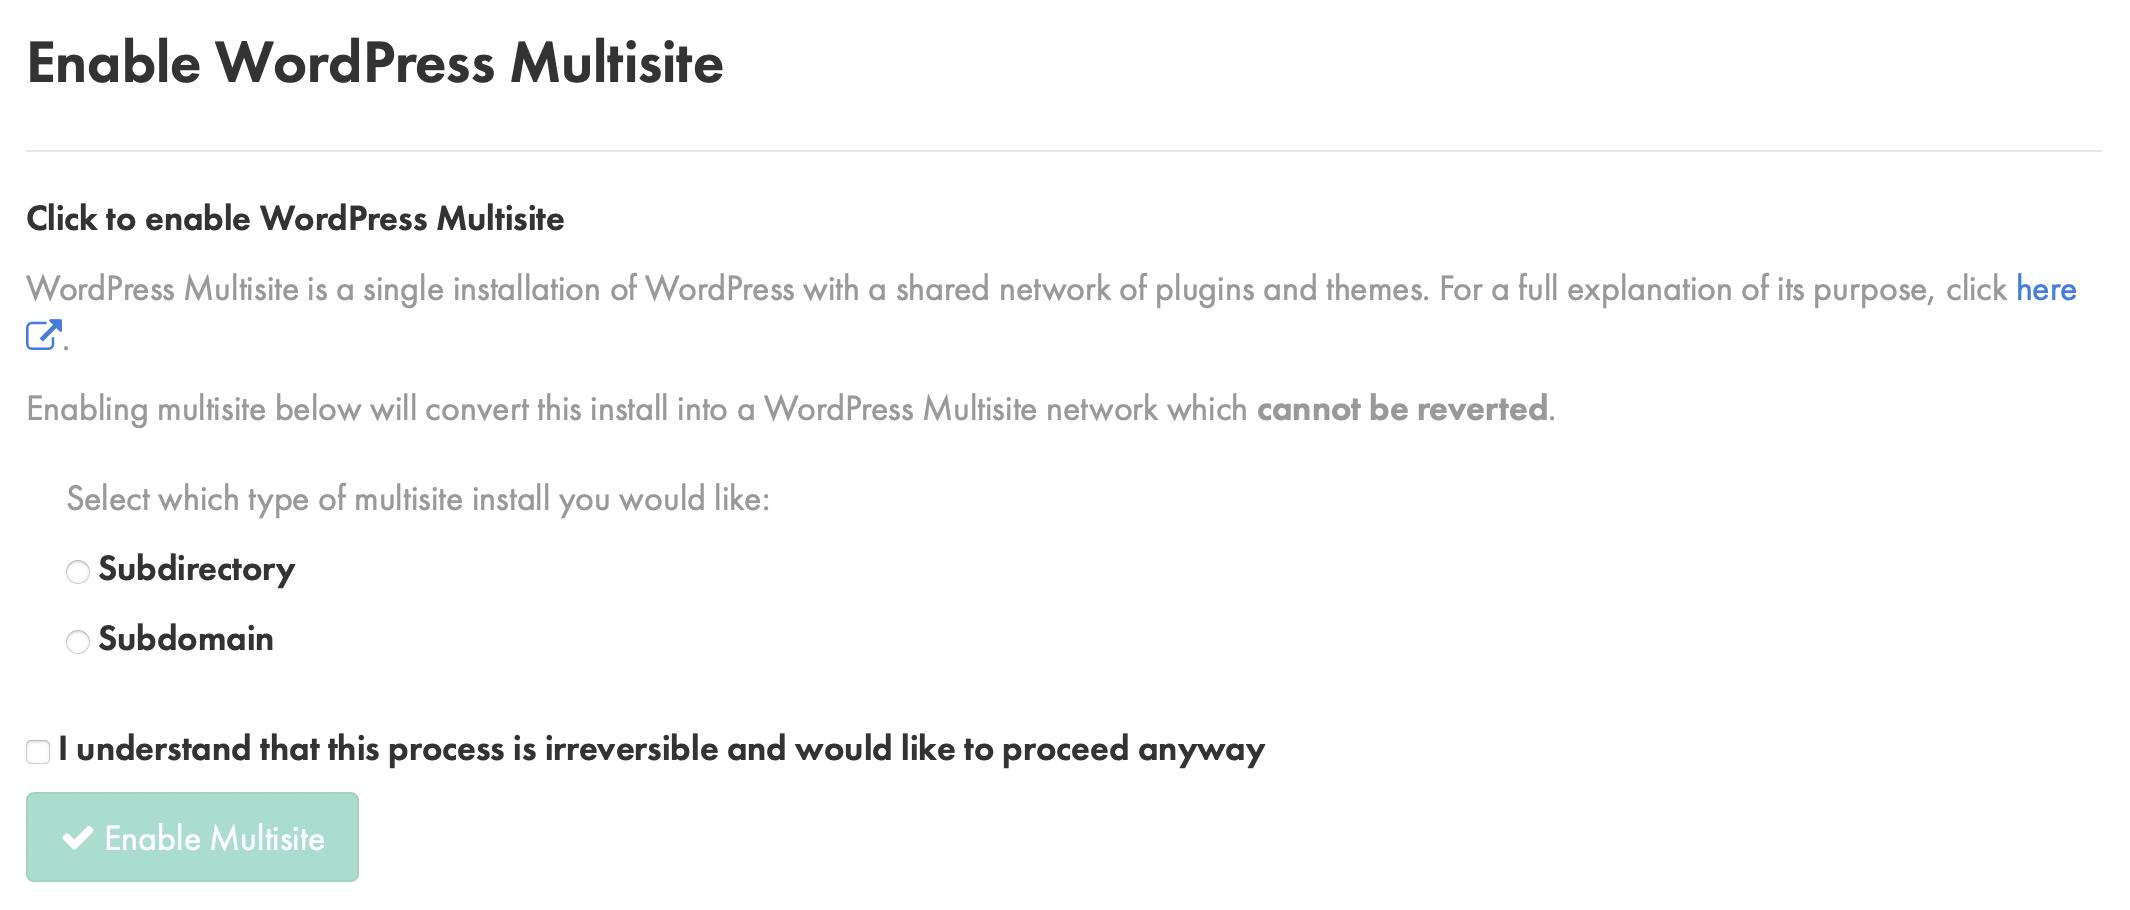
STEP 5
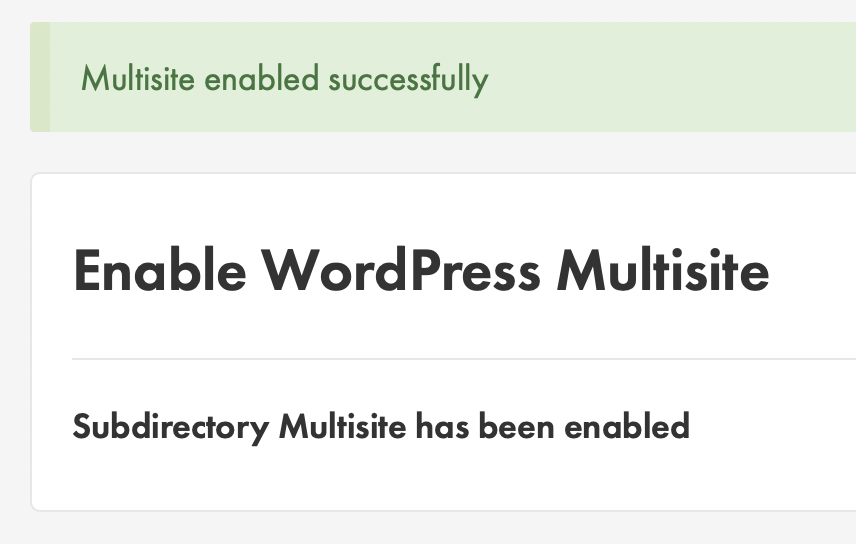
Enable WordPress Multisite
You will need to select your choice of whether you want your multisite installations to run under subdomains or subdirectories.
Please note that changing your WordPress website to a multisite network is irreversible.
If you are unsure if multisite is the best option for you, please contact our support team and we will be happy to discuss your needs.
STEP 6
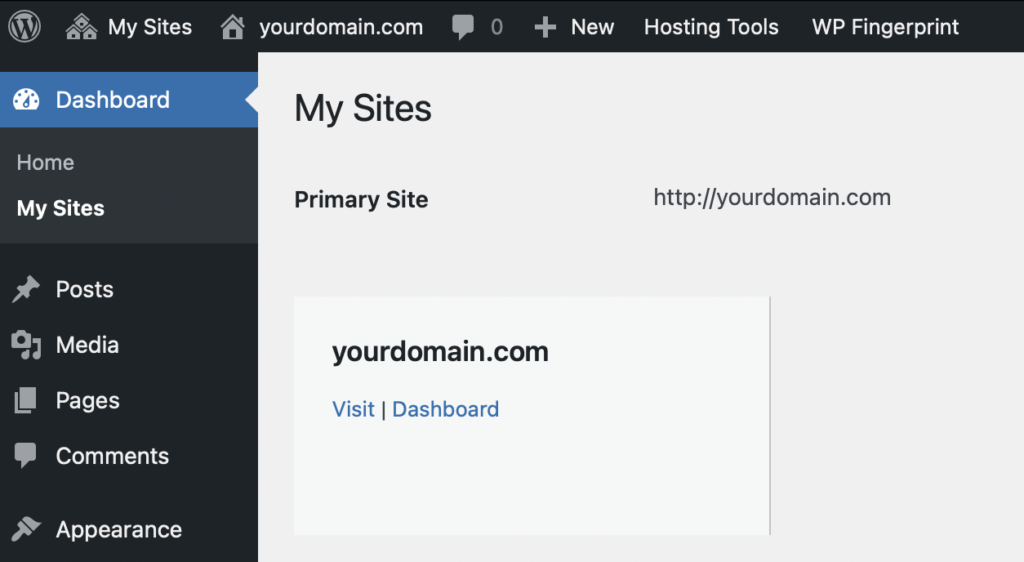
Login to WordPress
Return to your WordPress website and login. You will now see that the bar at the top of the admin menu has a new ‘My Sites’ option. This is where you can add new multisite installations.
Now that multisite is installed you can use the following guides to gain more information and to help you set up your network: