Introduction
This is a step-by-step walkthrough for freeing up disk usage on your 34SP.com hosting account.
It is important to be aware of your storage usage on your hosting account; running out of disk space can lead to performance issues and potential down time. To identify what files and folders are taking up the most storage, please refer to this guide.
Popular locations for clearing storage include:
- Old backup folders
- Cache folders
You can also remove unused plugins and images from your website to free up storage space. If you are unsure whether or not it is safe to remove data from your website, please contact our support team for further advice.
Removing large files
STEP 1
Login to your account
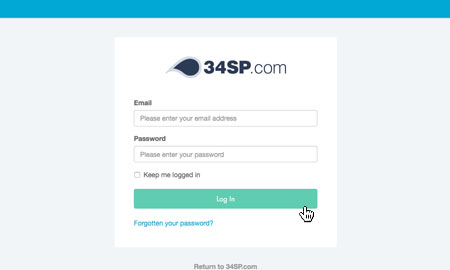
Firstly, you’ll need to login to your 34SP.com account at https://account.34sp.com.
STEP 2
Choose ‘Manage Sites’
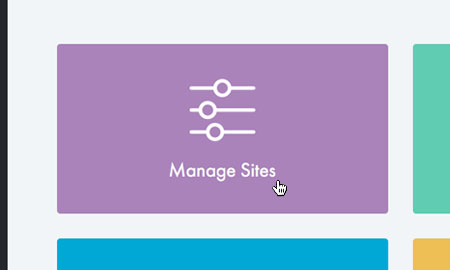
Once you have logged in, click on the ‘Manage Sites’ icon. This will bring up a list of websites or domain names you have in your 34SP.com account. Simply choose the website or domain name to wish to edit by clicking on it.
STEP 3
Select ‘Settings’
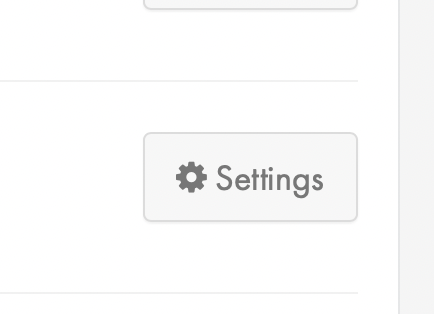
From the navigation menu, select the ‘Settings’ button beside the hosting you wish to inspect.
STEP 4
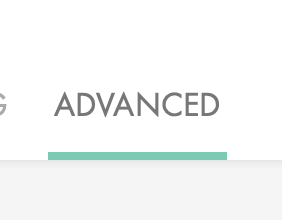
Select ‘Advanced’
From the top navigation menu, select ‘Advanced’.
STEP 5
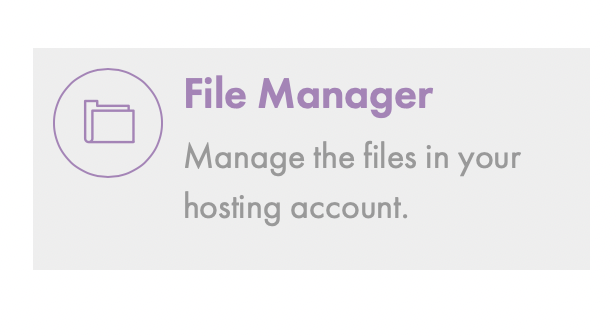
Select ‘File Manager’
From the list of available options, click on ‘File Manager’ to be taken to your website’s file browser.
STEP 6
Remove the files.
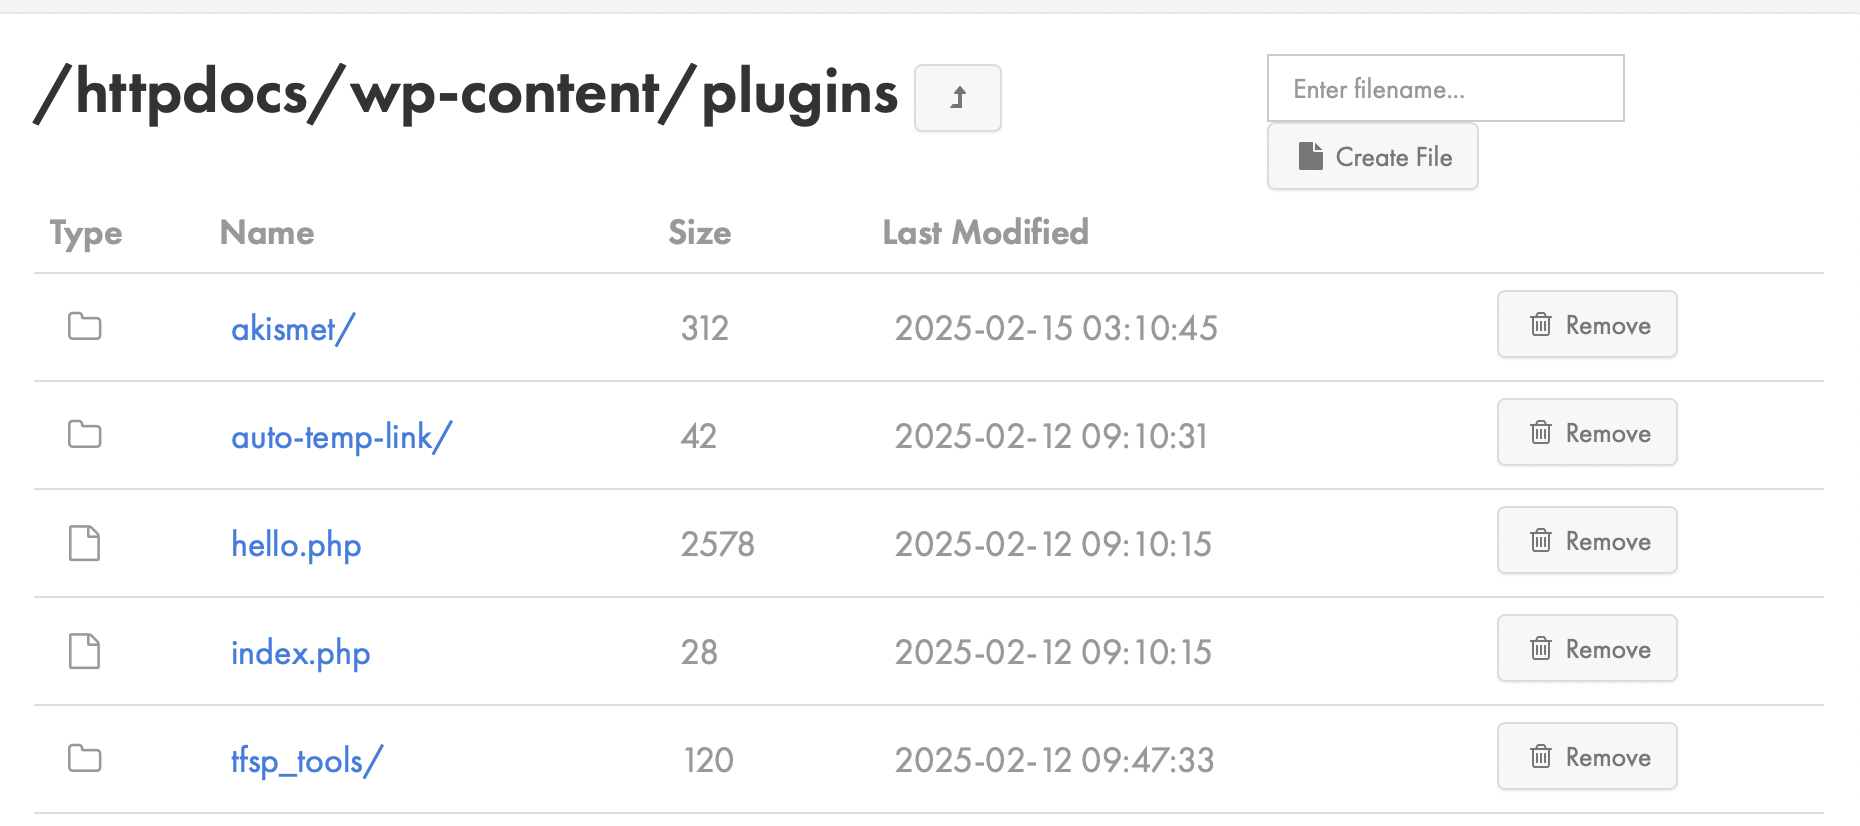
Now that you are in your file browser, you can navigate to the files and folders that have been identified as no longer needed and taking up space.
When you have found the files you wish to delete, click the ‘Remove’ button to permanently delete them.
Important: Only delete files and folders you are absolutely certain you no longer need, if you delete a file or folder by accident contact our support team for assistance.
