Applies to:
Professional Hosting
Universal Hosting
Difficulty:
Easy
Time Needed:
5 minutes
Introduction
This is a quick step-by-step walkthrough for locking and unlocking SFTP access via the 34SP.com Control Panel.
SFTP Lock is a feature built to protect your account from SFTP hack attempts. By default SFTP is set to ‘locked’ and blocks SFTP, SCP and SFTP until the status is changed.
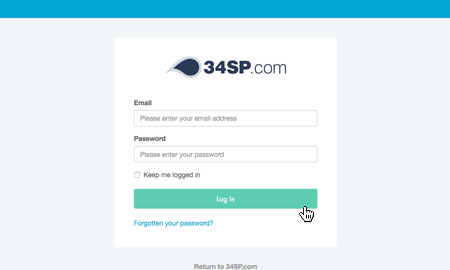
STEP 1
Login to your account
Firstly, you’ll need to login to your 34SP.com account at https://account.34sp.com.
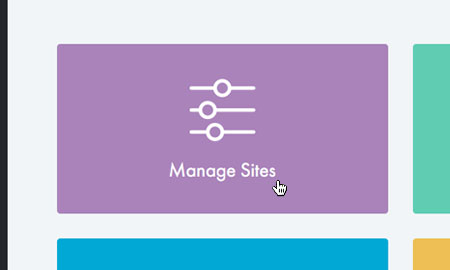
STEP 2
Choose ‘Manage Websites’
Once you have logged in, click on the ‘Manage Sites’ icon.
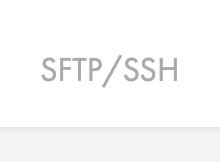
STEP 3
Choose ‘SFTP/SSH’
After you have clicked on the website you wish to edit, you will be presented with your website overview page. Choose ‘SFTP/SSH‘ from the product navigation.
STEP 4
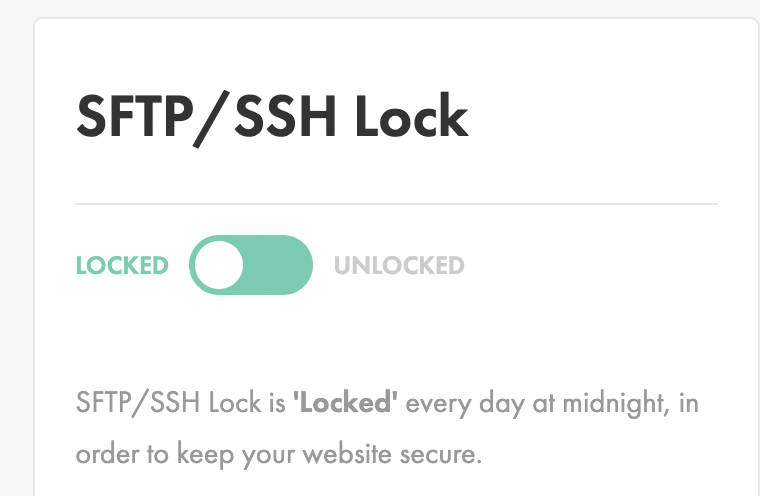
Choose ‘SFTP lock’
When viewing the ‘SFTP’ page, locate the box titled ‘SFTP Lock’ and click on the link ‘SFTP Lock Settings’.
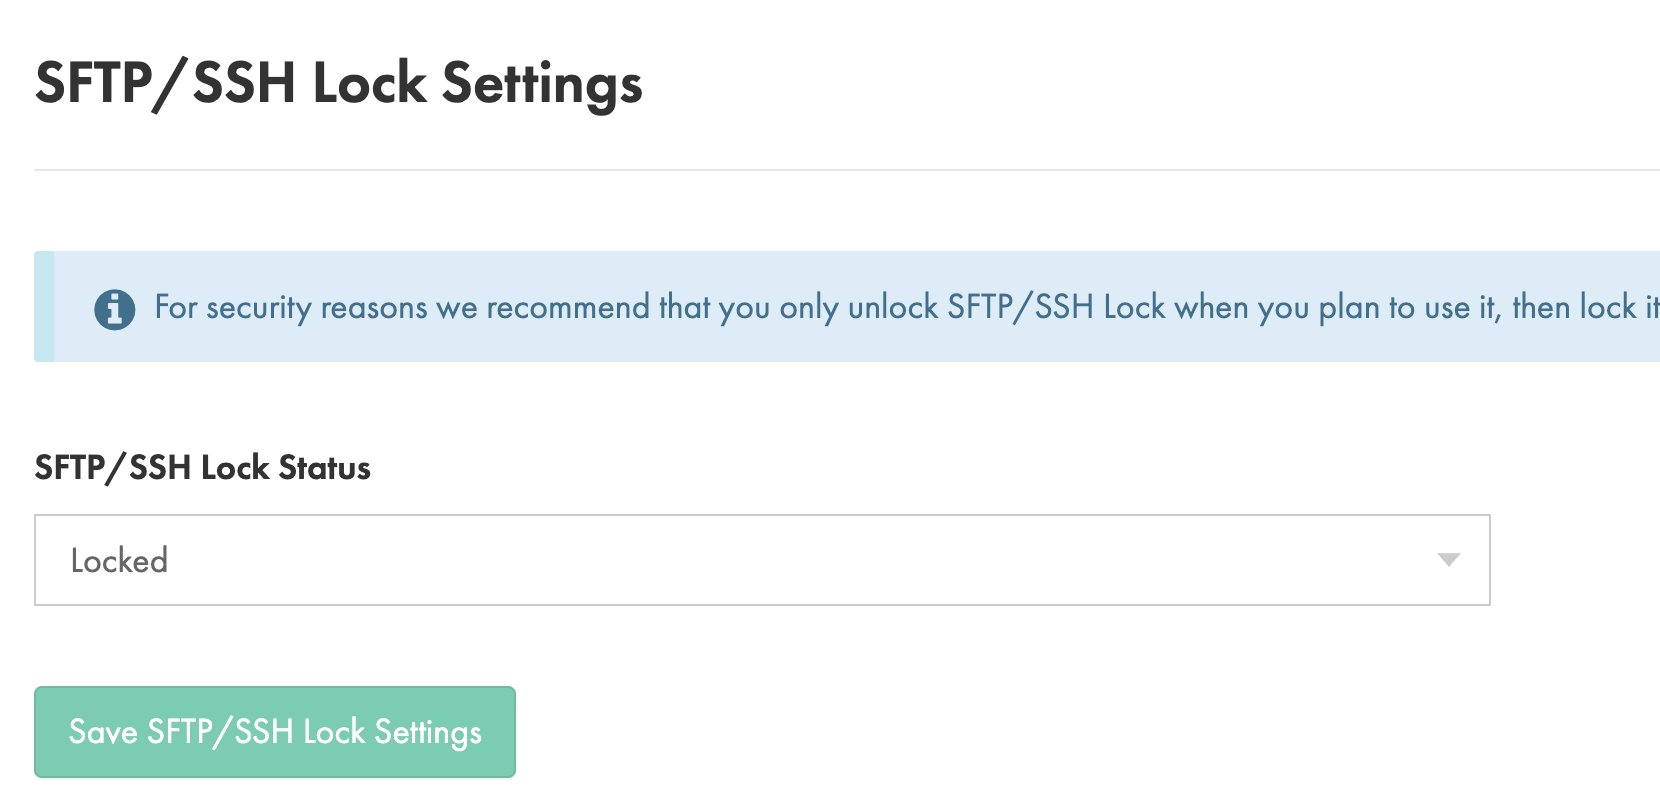
STEP 5
Set SFTP lock status
This will bring up a form with a single drop down labelled ‘SFTP Lock’. Choose your preferred SFTP Lock status from the 3 options provided, then click on the button labelled ‘Save Settings’ to save your changes.
87
Please note: If SFTP Lock is set to ‘Unlocked Today’, it will automatically lock at midnight GMT.