Applies to:
Professional Hosting
Difficulty:
Easy
Time Needed:
5 minutes
Contents
Introduction
This is a quick step-by-step guide for password protecting a directory or folder via the 34SP.com Control Panel.
Password protecting a directory or folder
STEP 1
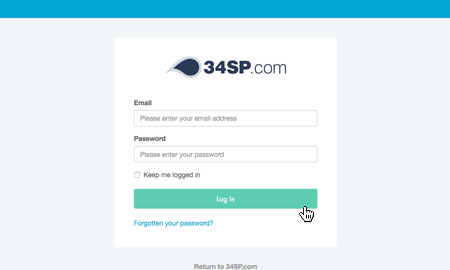
Login to your account
Firstly, you’ll need to login to your 34SP.com account at https://account.34sp.com.
STEP 2
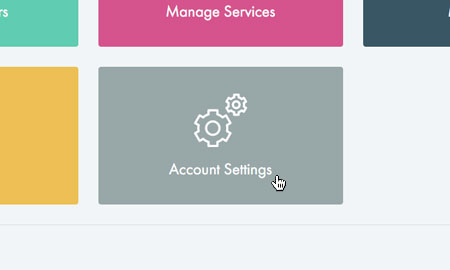
Choose ‘Account Settings’
Once you have logged in, click on the ‘Account Settings’ icon.
STEP 3
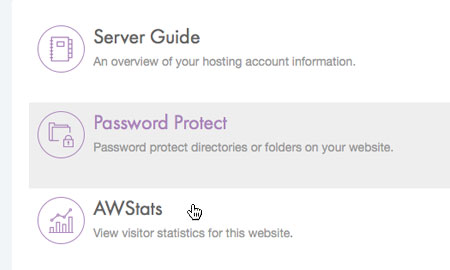
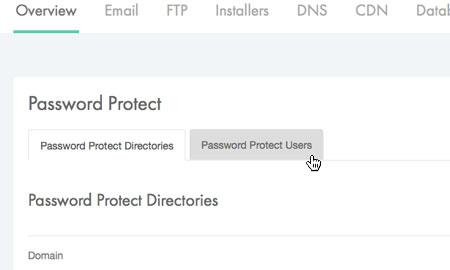
Choose ‘Password protect’
After you have clicked on the website you wish to edit, you will be presented with a page of icons. Please click on the icon labelled ‘Password Protect’
STEP 4
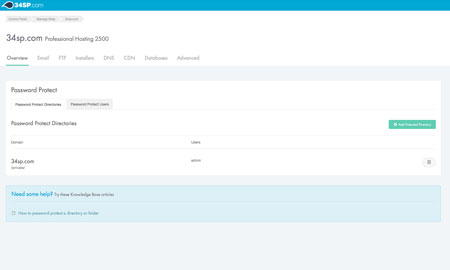
Password Protected Directories
The ‘Password Protected Directories’ page provides an overview of your current protected directories, with each directory listed in a table.
How to add a new password protected directory
STEP 1
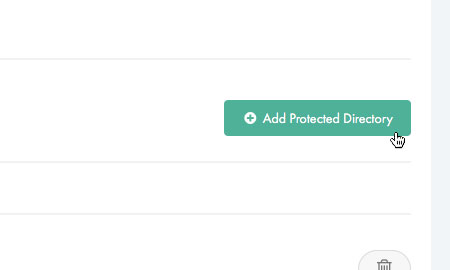
Add Protected Directory
If you wish to add a new password protected directory, simply click on the button labelled ‘Add Protected Directory’ when viewing the ‘Password Protected Directories’ page.
STEP 2
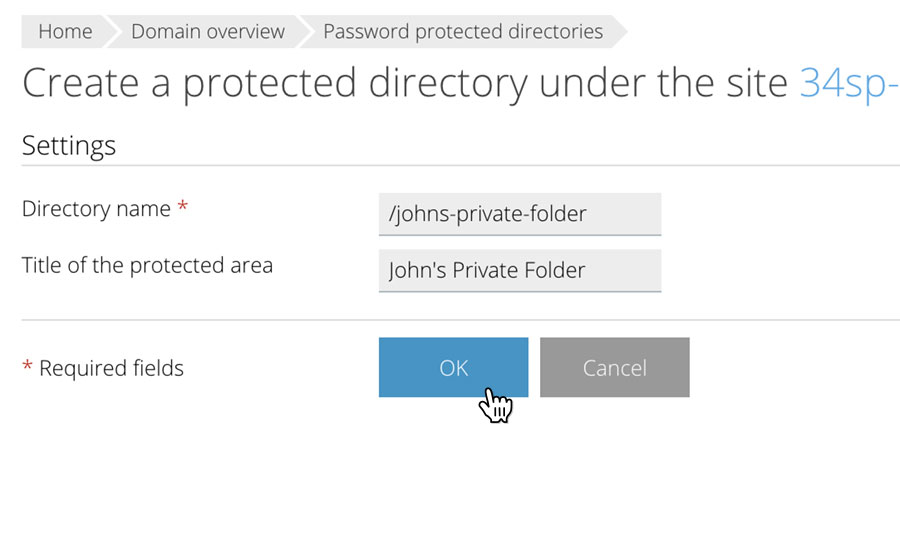
Enter protected directory information
This will bring up a form. Simply fill in the form with the relevant information. When you’re done, click ‘Save Settings’ to save your changes.
Please note: Once you have clicked on ‘Save Settings’, the new password protected directory will be added to your list of directories. In order to access the directory, you will also need to create a user
How to How to delete a password protected directory
STEP 1
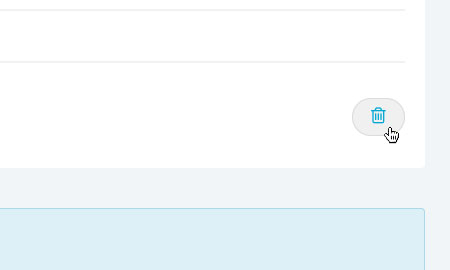
Remove a password protected directory
If you wish to delete a existing password protected directory simply click on the ‘Remove’ button (the ‘trash’ icon) for the password protected directory you wish to remove, when viewing the ‘Password Protected Directories’ page. This will remove the password protection from the directory, as well as any password protected users associated with that directory. It will not remove the directory from your website.
How to view your password protected users
STEP 1
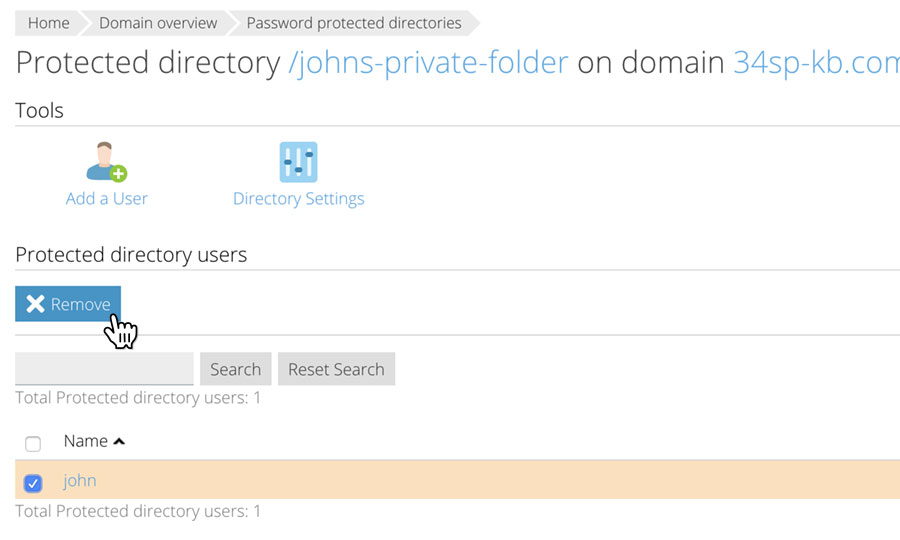
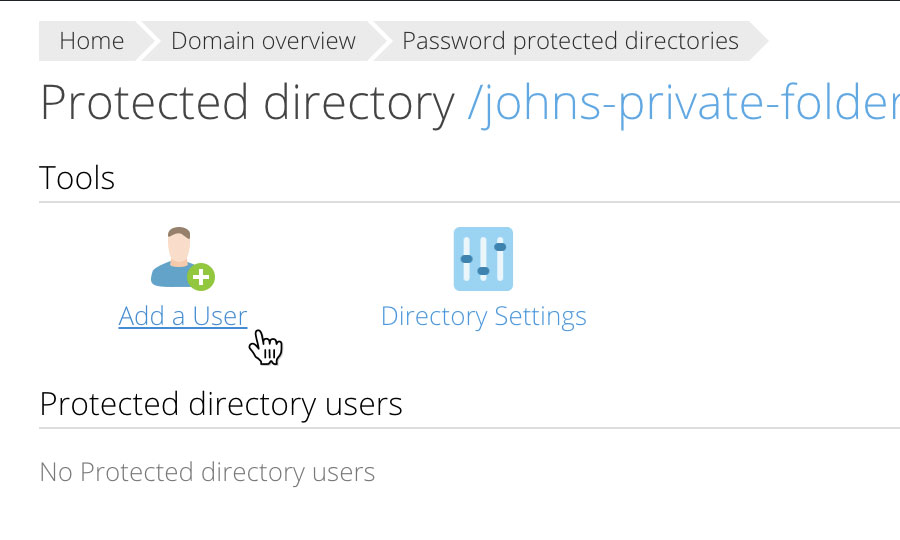
Managing your password protected users
When you create a password protected directory via the Control Panel, you also need to create a user. The ‘Password Protected Users’ page provides an overview of your current password protected users, with each user listed in a table. Along with viewing information on each user add or remove password protected users via the table, by clicking on the relevant icon.
How to add a password protected users
STEP 1
Add new password protected user
If you wish to add a new password protected user, simply click on the button labelled ‘Add New User’ when viewing the ‘Password Protected Users’ page.
STEP 2
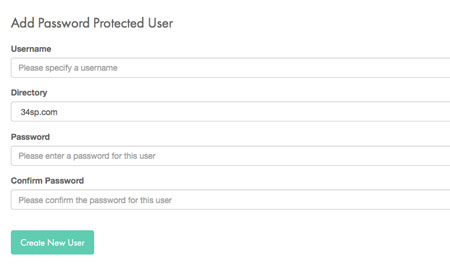
Enter password protected user information
This will bring up a form. Simply fill in the form with the relevant information. When you’re done, click ‘Create New User’ to save your changes.
How to delete an existing password protected user
STEP 1
Remove a password protected user
If you wish to delete a existing password protected user simply click on the ‘Remove’ button (the ‘trash’ icon) for the user you wish to delete, when viewing the ‘Password Protected Users’ page. This will remove the user permanently.
193
Please note: Deleting a password protected user does not remove the associated password protection.