Applies to:
Professional Hosting
Universal Hosting
WordPress Hosting
Difficulty:
Easy
Time Needed:
5 minutes
Introduction
This is a quick step-by-step guide to setting up email on Windows 10 Mail.
Please note: You need to have created a mailbox for your account as detailed at ‘How to manage your email addresses‘ before you can set up email your device.
How to setup email on Windows 10 Mail
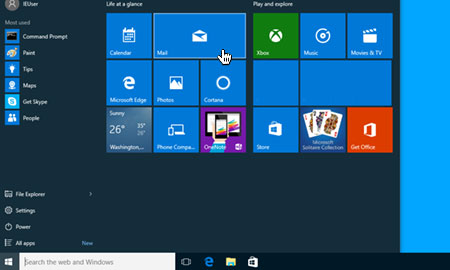
STEP 1
Open Windows 10 Mail
Firstly, you’ll need to open Windows 10 Mail by clicking on the Start button, then clicking on ‘Mail’.
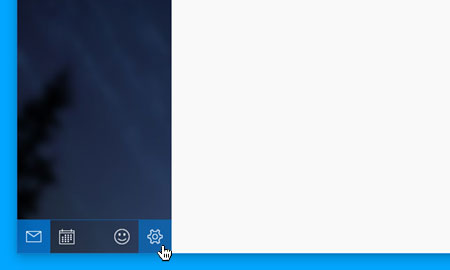
STEP 2
Choose ‘Settings’
Once Windows 10 Mail has opened, choose the ‘Settings’ icon (the cog) from the menu located at the bottom of the app.
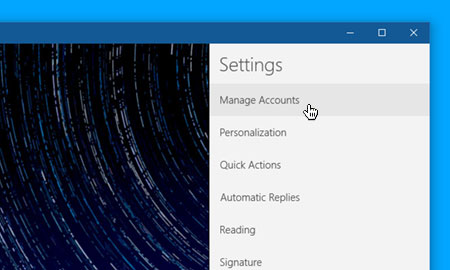
STEP 3
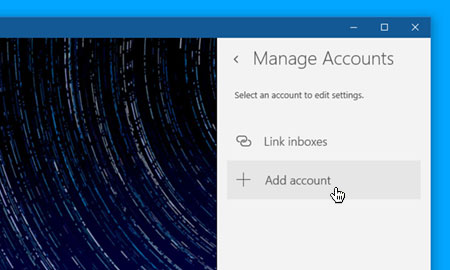
Choose ‘Manage Accounts’
Then simple choose ‘Manage Accounts’ from the settings menu that appears on the right hand side of the screen.
STEP 4
Choose ‘Add account’
Then simple click on the option labelled ‘Add Account’.
STEP 5
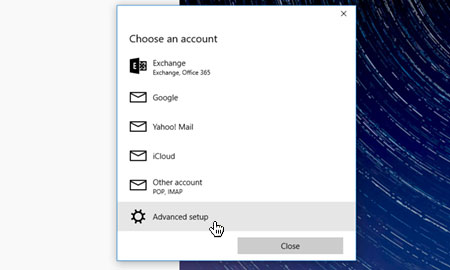
Choose ‘Advanced setup’
After you have entered your e-mail address and password, choose ‘Advanced setup’ from the list of different account types.
STEP 6
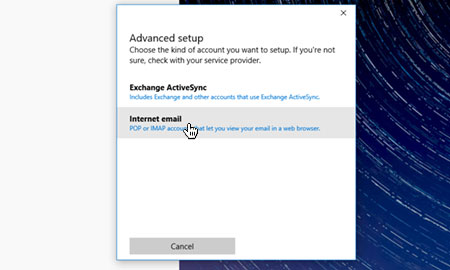
Choose ‘Internet email’
Then choose ‘Internet email’ to set up your account details.
STEP 7
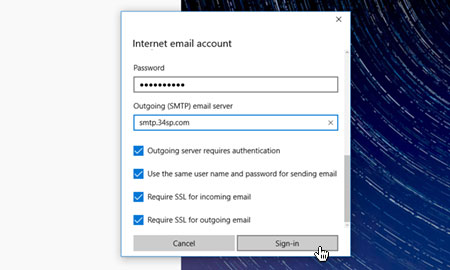
Enter your account details
You will be presented with some new form fields to fill in.
Firstly, enter your e-mail address in the field labelled ‘Account name’.
Next, enter your full name in the field labelled ‘Your name’‘. This will appear in the ‘from’ field, when you send e-mail from this address.
In the field labelled ‘Incoming email server’ please enter ‘mail.34sp.com’.
Then choose your protocol via the ‘Account type’ dropdown menu (we strongly recommend IMAP).
Enter your e-mail address in the field labelled ‘Email address’, then enter your e-mail address again for the field labelled ‘Username’.
In the ‘Password’ field, enter the password associated with your e-mail address.
For ‘Outgoing (SMTP) email server’ please enter ‘smtp.34sp.com’.
Finally, ensure the 4 checkboxes at the end of the form are all checked.
When you have entered the relevant details, click ‘Sign-in’ to proceed to the next stage.
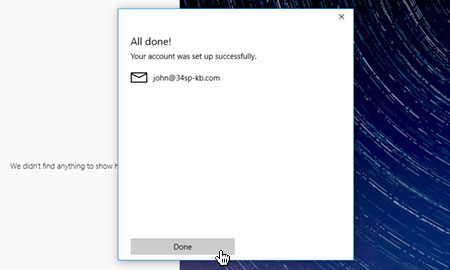
STEP 8
Windows 10 Mail Setup is complete
If you have entered your account details correctly, you’ll see a message reading ‘All done! – Your account is setup’. Simply click the button labelled ‘Done’ to complete the setup process. You are now ready to send and receive email using Windows 10 Mail.