Applies to:
WordPress Hosting
Difficulty:
Easy
Time Needed:
5 minutes
Introduction
This is a step-by-step walkthrough for adding new sites to your WordPress multisite installation.
Multisite is a feature of WordPress that allows you to create multiple similar small websites all within one WordPress installation. For information on how to enable this, please view our multisite setup guide here.
STEP 1
Log in to the WordPress admin dashboard
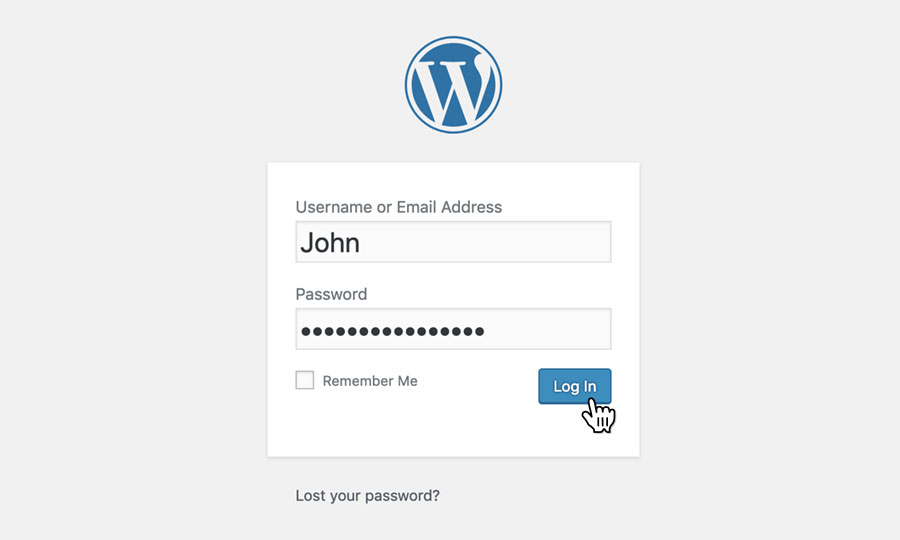
Firstly, you’ll need to log in to the WordPress admin dashboard. To access the login screen, simply go to yourdomain.com/wp-admin.
At the login screen, enter your username and password into the fields provided, then click the button labelled ‘Log In’.
STEP 2
Choose ‘Sites’
After logging in, you will be taken to the WordPress admin dashboard.
Use the navigation bar on the top of the screen, and choose ‘Network admin’, then ‘Sites’.

STEP 3
Choose ‘Add New Site’
This page will list all your multisite site installations.
Click on the ‘Add New Site‘ text in this box to create a new installation.

STEP 4
Fill in your site information
You will need to choose a URL for your new installation, as well as a site title and admin email.
Fill in the text areas with the information you wish to use for your new site, then click ‘Add Site‘.

STEP 5
Login to the dashboard
Now that you have added a new site, it will be available in the list on the ‘Sites‘ page.
You can login to your new multisite installation’s dashboard by clicking the ‘Dashboard‘ button from under the site name on this page.

Now that you have added a new site to your multisite network you can enable individual plugins and themes from those available in your network admin.
Recommended: Enable SSL on your sites (Subdomains only)
The following only applies to subdomain multisite networks.
After you have created a new site under your multisite installation, you will need to add the site as an alias, this guide will show you how to create an alias.
You will then be able to add an SSL for that installation by following our SSL installation guide and selecting the new site name.